Have you ever wondered why your craft beer isn’t as clear and professional-looking as commercially brewed beers? Does it have a murky and off-color appearance, no matter how many articles or videos you have studied? We have the solution to your problem. Cold crashing.
Also used in winemaking recipes, cold crashing beer is the simplest and quickest path to brewing crystal clear beer that looks like it was made in a state-of-the-art facility. The best part is that you only need a few pieces of brewing equipment that you likely already have, and it doesn’t require any additives.

What is Cold Crashing?
Essentially, cold crashing is the process of reducing the temperature of beer quickly before kegging or bottling – as close to 33°F without freezing the homebrew. AND as quickly as possible. Then, you leave it for about 24-72 hours.
Cold crashing beer causes the yeast, proteins, and other sediment to sink to the bottom as “trub”. Without cold crashing, these sediments will continue to float around, giving you a cloudy beer. You can use a conical fermenter to get most of the sediment out, but they’ll always be some floating around.“The quick cooling of a beer or other brews like wine or mead encourages yeast to flocculate or group together and other particles like protein to coagulate. When the particles group together, the collected mass helps to bring them down to the bottom of the vessel and out of suspension.”
– Neil McDonald, homebrewanswers.com
Why Should I Cold Crash Beer?
The main purpose of cold crashing is to create a much clearer beer or wine, with a crisper and more vivid hue. For improved results, you can add gelatin finings during the cold crashing process in order to make your homebrew even clearer.While clarity and appearance is the primary benefit from cold crashing beer, it also makes for an easier racking process. Most of the particles that would otherwise clog up a siphon or dip-tube would have already sunk to the bottom, out of suspension. It’s especially effective for dry hop beers, which would otherwise have a considerable amount of hops and particles in suspension.
Downsides of a Cold Crashed Brew?
If there were no downsides to cold crashing beer, everyone would do it all the time, but that’s just not the case. First, it requires fairly precise temperature control. You need to get the beer down to near freezing temperatures without actually freezing the beer. This is best done with a temperature controlled fridge or freezer and an external thermostat controller.Next, cold crashing prolongs the amount of time the beer needs to remain in the chamber – usually by at least two to three days. This increases the chance of fluid and oxygen exposure. When the beer cools down, a vacuum will form in the vessel which could bring in unwanted oxygen. Not only that, but it adds and extra 2-3 days to when you can drink your beer.
How to Cold Crash Homebrew
There are two sides to this. First, the equipment needed. Second, the actual process of cold crashing. Let’s take a look at the equipment.
Equipment Needed to Cold Crash
1. Vessel for holding your beer
A carboy or fermentation vessel will do nicely. You only have to ensure that it is sanitary and that there is a reasonably secure seal on it. We mentioned that we don’t a lot of excess oxygen coming in, but it doesn’t need to be laser sealed because we haven’t induced any carbonation yet at this point.
2. Refrigeration System
For newbies, the most often problem faced is not having a fridge or freezer that has enough room to store a fermentation vessel. If this is a problem you face, you may want to look into a smaller carboy for ease of storage. Another option is placing it in an uninsulated garage or basement during the winter, IF you live in a cold enough area. It can be effective and it costs nothing, as well.
Here at 52 Brews, we have a kegerator, or a keezer to be more precise. We place our homebrew in there and enjoy the benefits of a temperature controlled chest freezer.

Steps to Cold Crash Beer
Step 1
Makes sure the fermentation process is complete – usually around 2 weeks. You can use a hydrometer from a more precise measurement of when the fermentation process is complete.
Step 2
Transfer your beer to a sanitary vessel. This can be a carboy, a secondary fermenter, or a bottling bucket. Just make sure it’s sanitary.
Step 3
Place your beer in a cooling chamber, whether it be a fridge, freezer, or cold garage in winter. You want your beer to get down to near freezing temperatures as quickly as possible without actually freezing the beer.
Step 4
Store the beer for 24-72 hours. Some IPA’s you can leave up to 5-7 days if you’d like, but 2 to 3 is recommended.
Step 5
Periodically check to your beer’s appearance. If it’s still not clear after 2-3 days, you can add gelatin finings to help.
Step 6
Once you’re satisfied with your beer’s appearance, add your sugar to carbonate the beer, bottle, and leave to rest for 2 weeks at room temperature. As a note, some people will carbonate as they cold crash, but sometimes this causes the fermenter or vessel to become over-pressurized.
Some Things to Consider when Cold Crashing
If you plan to keg your beer, you can actually cold crash it right in the keg. You’ll be able to purge the keg with enough CO2 and not have to worry about oxygen entering the vessel. If you have an extra keg, you can transfer it after the process to filter even more sediment out.
Cold crashing can result in something known as “chill haze”, in which the beer isn’t as clear as it should be even after the process. This is where having some gelatin finings on hand could be useful.
Oxygen can be sucked back into the fermenter or vessel holding your beer due to the low temperature creating a vacuum. This shouldn’t be too much of a concern due to CO2 levels, but be careful not to shake it around too much.
FAQ
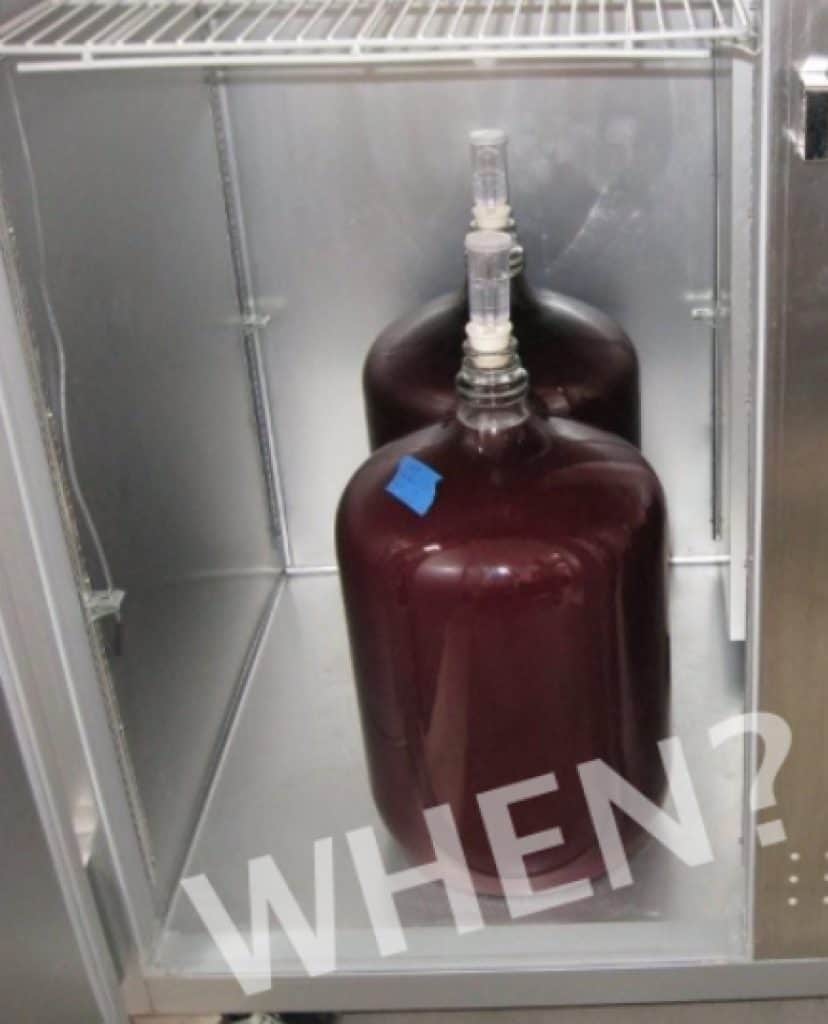
When Should you Cold Crash?
Cold crashing your beer should ONLY take place after fermentation is complete. It’s important to wait until it’s done or very near completion because yeast will only ferment at a certain temperatures. If your brew falls below those levels, the sugar will no longer be converted into alcohol. This will cause your beer to have a lower than intended ABV as well as some possibly negative effects on the flavor.
The best and most accurate way to determine whether or not fermentation is complete is to use a hydrometer. You take a first reading before fermentation and then take readings throughout the next 2 weeks to compare to the initial reading. You can learn more about that HERE.
What is the Ideal Temperature to Cold Crash Beer?
33°F – 40°F is generally agreed upon to be the best temperature range for cold crashing beer. The important part is NOT freezing or icing your beer. Beer does freeze at select temperatures below 32°F, but we don’t want it to ice over either. To avoid that, plan to cold crash your homebrew at around the 36-38°F mark. It gives you a couple degrees of temperature on both sides to play with.
A temperature controlled fridge or freezer will allow for the most precise results, just be sure to keep a watchful eye over whatever method you choose.
How Long Does it Take to Cold Crash Beer?
The general idea is to cold crash beer for two to three days. However, it’s really however long it takes to reach the desired appearance and clarity of the beer. After 3 days, maybe 5 for some hoppy IPA’s, there will be diminishing returns on the length of the cold crash. If you experience a chill haze, try gelatin finings.
You may want to allow extra time for the conditioning process as there will be less yeast to eat the sugar after you cold crash.
Cold Crashing Beer Summary
Cold crashing is an effective way to enhance the clarity, color, and general appearance of your beer. For the clearest and a floater-free homebrew, we recommend using a conical fermenter in addition to cold crashing your beer.
The best thing about cold crashing is that it’s a fairly easy and simple process. Furthermore, it likely doesn’t require any new pieces of equipment, so it’s a cost effective way to clear up your homebrew.
Brewing your own beer is an extremely satisfying experience (especially when it comes time to drink it). If you want to learn more, simply browse our website. We have ton of information how-to’s and product recommendations.